Wednesday, November 17, 2010

Mini Subway Art Sign


I've seen subway art all over the place so I thought I would whip up a Christmas themed sign for my guest bathroom.

I used my Cricut and Sure Cuts A Lot software to cut my letters onto vinyl.
I painted my wood using my favourite paint, Ceramcoat.
While your waiting for your paint to dry you can read the newspaper your wood is drying on like I did.....hey a craft fair this weekend....sweet!!
After I arranged and stuck my vinyl letters on my wood I glued down a few scrabble tiles with stars on them using my Weldbond Glue.
I'm thinking Ashtyn will be getting a piece of subway art for her room for Christmas painted pink and all about her!!

I'm linking my project to...


FIVE GREEN AND SPECKLED FROGS

Have you heard the little children's counting song, "Five Green and Speckled Frogs?"

It's a favourite in my house and was always a bit hit while I taught preschool. To help bring the little song to life I made 5 magnetic felt frogs and found a "speckled log" in the park for them to sit on. Now your little one can help you sing the song using her props.

Here's the Low Down

1. Cut out ten pieces of green felt in a froggy shape.

2. Decorate the front side however you wish adding googly eyes and speckly skin. For all my felt stories I use fabric paint.
3. Next your going to glue the two felt pieces together with cotton balls and a magnet on the back of the frog INSIDE the felt.
Do this for all five frogs.

4. Take your clean"frog log" and hot glue five magnets to it.
***** Remember that magnets either attract to one another or push away so make sure that all frogs will have a place to sit on the log before you glue the magnets on. I learned this the hard way once....gulp.*****
5. Cut out a piece of blue felt in the shape of a pond for the frogs to jump into....
 For those who don't know the
Five Green and Speckled Frog song, here it is....

"Five green and speckled frogs sat on a speckled log,
eating some most delicious bugs....yum, yum!

One jumped into the pool where it was nice and cool,
Now there are four green speckled frogs....glub, glub"!

Continue to count down until all the frogs are in the pond....


Thursday, November 11, 2010

A Great Read

Pssst....my mother in law has a wonderful talent...
...She is an amazing writer.

Her work has even made it into a few publications.

She recently wrote a fabulous Christmas poem starring herself and husband with my daughter Ashtyn and our Boston Terrier Derby.

Here is the link to her Christmas poem titled

It would REALLY make her day if you checked out her link and left her a comment!!

Thanks everyone!!


Wednesday, November 10, 2010

BEAD BOARD PHOTO DISPLAY


Stacie @ CrEaTive Crate has linked up one of her amazing tutorials over at


Photobucket

To get the low down on how to make this FaBuLoUs Bead board frame jump on over there!!

Tuesday, November 9, 2010

ToDdLEr BeLt TuToRiAL

My little girls pants are always falling down. As cute as her little bum is I'm sorry but plumbers crack isnt a good look for her.

Here's the tutorial for the toddler belts I
made for Ashtyn.
You'll need some webbing, ribbon, D hooks (or velco) and a sewing machine.

1. Measure your child's waist over their clothing and add about three to four inches to that. This will be the length of your webbing.
My webbing length was 25 inches

For your ribbon measurement take the length of your webbing and add 5 inches.
My ribbon length was 30 inches.

2. Burn the edges of your webbing and ribbon to seal them. (This is a hard task for the cotton webbing since it turns it black. I just left it alone on my one belt and if the fraying gets bad on the one end I will add a little metal clip)

3. Sew the ribbon onto your webbing wrapping the ribbon around to the back on one end.

This is done so when the belt is looped through the D hooks, you will see the ribbon design and not the webbing colour. If your using velco instead of D hooks then only sew the ribbon on the front of the webbing.


4. Take two D hooks and feed them through one end of the webbing and sew.
**The D hooks are sewn on the end without the ribbon sewn on back**
5. To cover up the stitching I added a piece of ribbon with an embelishment like a button or flower.

Ribbon and webbing can be found in all colours so don't forget to make your little boy some belts too.


Monday, November 8, 2010

BLOG CHANGES

Hey everyone, just wanted to say that my blog is under construction so if some links don`t work and stuff looks jumbled just please bare with me as I get things tickety boo!!

Friday, October 29, 2010

PUMPKIN PATCH MARBLE CRAFT

Looking for a last minute Halloween craft for the kids to do before the big day? Why not try this pumpkin patch marble craft. It's super easy, sorta messy(if you loose your marbles!!) and turns out really cute.

Oh and I would feel better just saying that little ones think marbles are candy so just keep an eye on little marble tasters. This is a great craft for a preschooler!!
YOU WILL NEED...
* a pan with sides
* white and orange paper ( I use cardstock so it doesn't bend and get soggy) 
* green paint
* glue
* marbles
* a cup and spoon

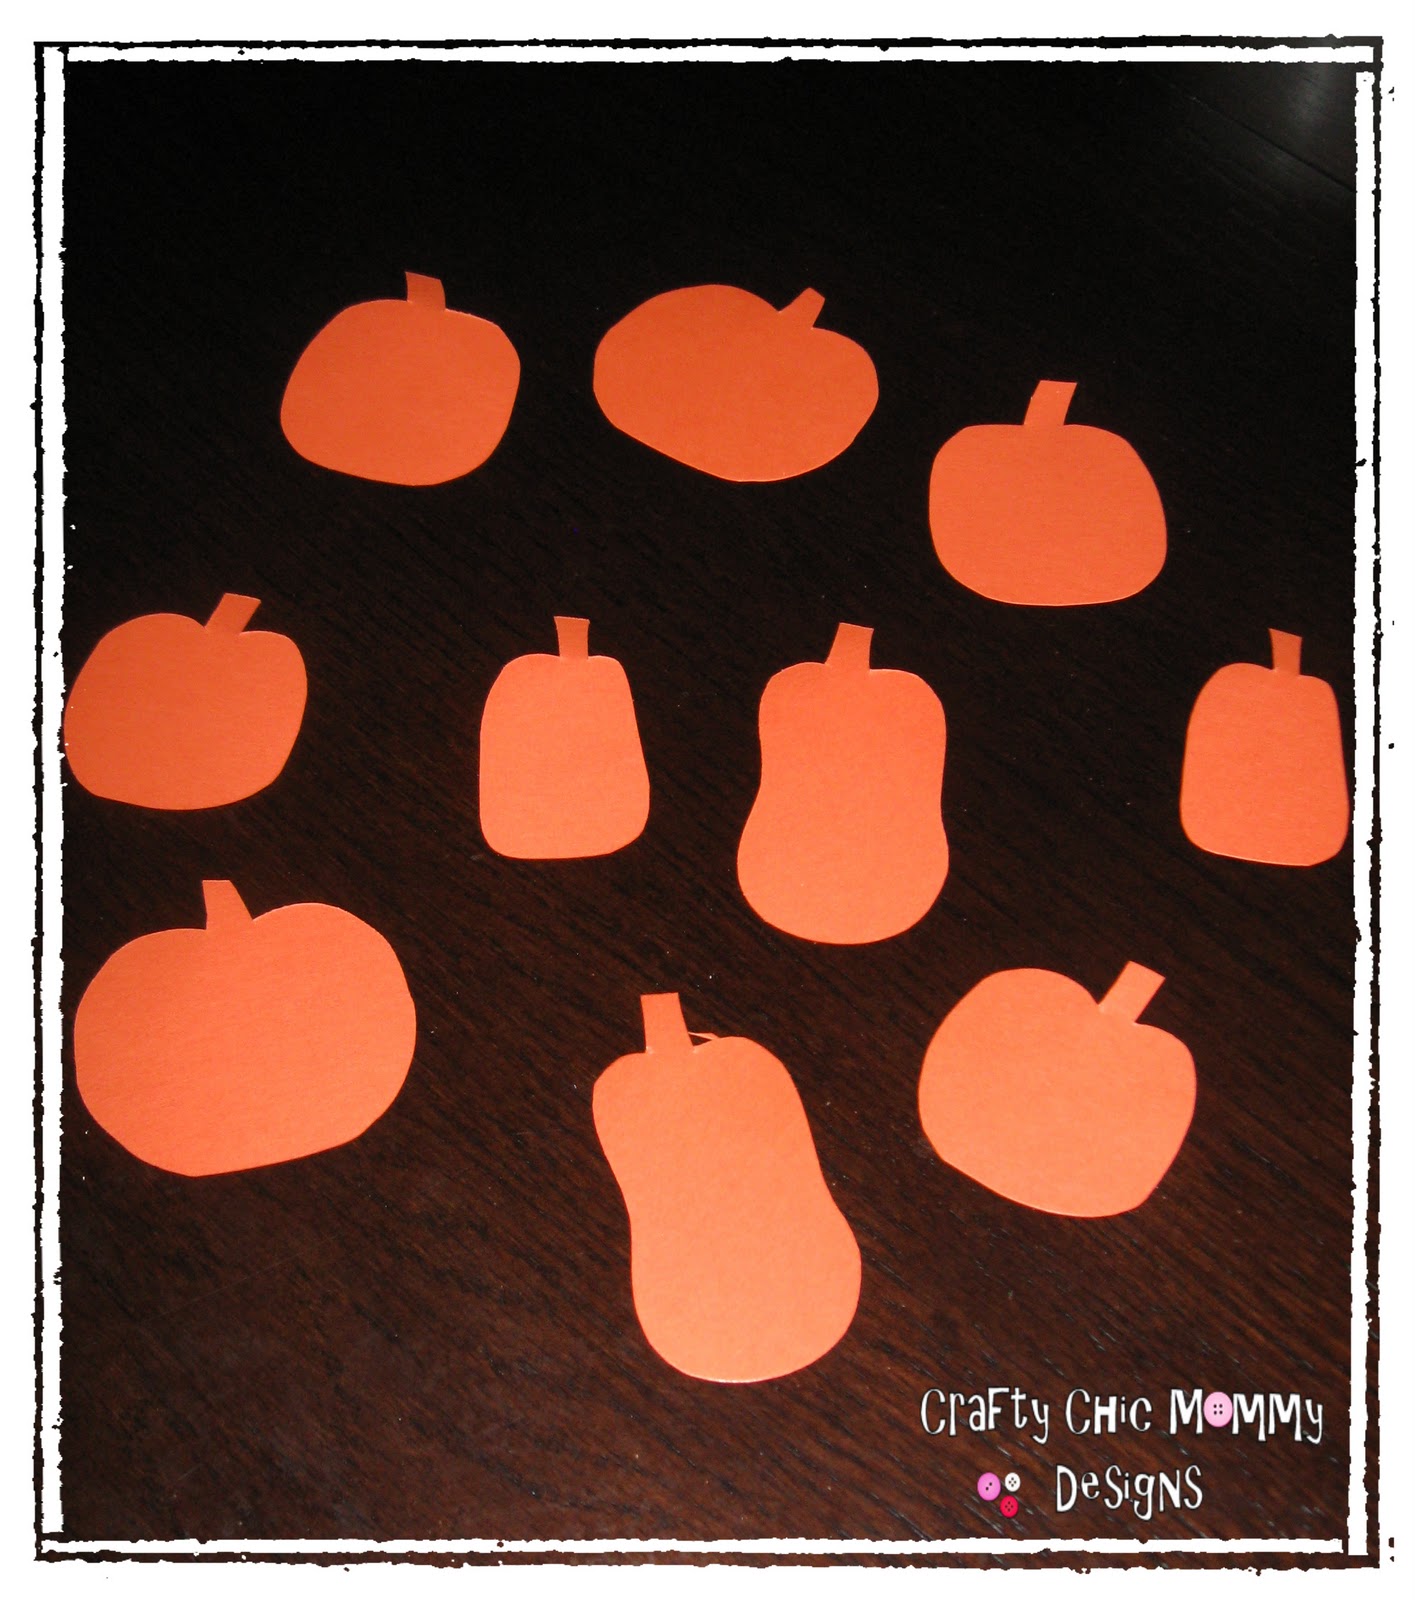
Cut out some orange pumpkins
Put some marbles in a cup with a small amount of green paint.

Then plop the painted marbles onto the paper using the spoon.
For the fun part....roll the marbles all around in the pan and watch as they create a twisty, twirly, viney pumpkin patch. Be prepared for marbles to escape from the pan and roll across the floor if little ones get carried away with rolling. haha
Once the kids have rolled to their little hearts content get them to glue their pumpkins on the patch.


Wednesday, October 27, 2010

Storage Cupboard Turned Play Fridge

 I was going to build my daughter a play fridge to go with the kitchen set I made for her but I got lazy and took the easy way out. Here is what I did... I'm very happy with my results.
I found a little white storage shelf while shopping at Rona the other day ( Rona is a Canadian Home Depot basically). So I decided instead of sawing, sanding gluing and nailing, I would turn the basic little two shelf cupboard into a play fridge.

To give it that extra special touch I lined the shelves with drawer liner paper.....
I gave it a new fridge like handle....
And to cover the holes where the original handle would've gone I attached a little wooden magnetic board covered in fabric.


 Ashtyn loves her little fridge and in the end I saved myself time and money!!

To see my original post on how I made Ashtyn's stove and sink click HERE


Related Posts with Thumbnails