Showing posts with label Halloween. Show all posts

Saturday, September 17, 2011

Drop Cloth HaLLoWeEN Pillow

I'm jumping on the Halloween train early this year so I can make the most of it.

Besides with our new addition set to arrive soon I'll be consumed with diapers and drool rather than crafts...

I used a drop cloth from Home Depot to make this pillow.

I decided to try out Martha Stewarts new paint line for my green and orange lines. It worked great....just a little stinky for my sensitive pregnancy nose. This stuff apparently works on any craft surface including glass.

Using painters tape I taped off my lines on one side of the pillow and painted with a foam brush between the lines.

While that was drying I ironed on my TriCk Or TrEAt iron on that I found at Michaels onto a smaller piece of drop cloth.

My patch was sewn on using a zig zag stitch then I was ready to assemble my pillow.

I sewed all the way around the edges on the front side leaving about a 4 inch gap on one end.
I stuffed the pillow with Poly fill and sewed the opening shut.


Here's how she turned out!!
Happy Fall Ya'll!!!


Pssst I'm linking this project to....

Friday, September 16, 2011

BURLAP WREATH

I've seen these and many other burlap wreaths all over blog land and decided I needed one of my own for my fall / Halloween decor.

I started this wreath with a wire coat hanger shaped into a circle (this was the hardest part)

I then cut strips of burlap about 4 inches in width and about 4 feet long.

I'll admit this took more burlap than I thought to make it look full....like about a yard and a half give or take.
(sorry no pics I did this late at night spur of the moment in my poorly lite basement)

I folded and threaded the burlap (like an accordian) onto the coat hanger and scrunched and folded over and over until my wreath looked full. I pulled my threads to give it a messy look once I was done.

I secured the edges of the coat hanger with some wire and added a piece of fabric to hang it.


I'm not too sure how I will decorate this sucker for Fall or Halloween yet so in the meantime I pinned this little spider on.


I'm even thinking of making these darling little pumpkins to pin onto it that I found over at
SMILE MONTSTERS


Pssst Im linking this project to...

Tuesday, October 19, 2010

PUMPKIN FACE STICKERS

I came across these wonderful facial feature pumpkin stickers at DISNEY'S FAMILY FUN WEBSITE.
When you get to the site click on "View full size and print" and from there you will print two pages. The one picutured below and another with noses and mouths.
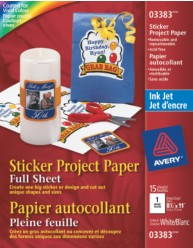
I used Avery Sticker Project paper.
Since I needed stickers for smaller pumpkins I clicked on the"paper saving option" in my printing set up. By doing so I printed all smaller facial features on one
 8.5 x 11 sheet of sticker paper. Cut out the stickers and let the kids decorate their pumpkins with NO MESS!!


Monday, October 18, 2010

TWO GREAT SPIDER TUTORIALS

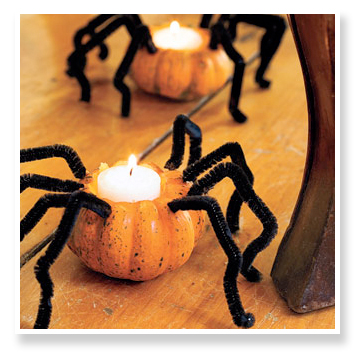
Got the Halloween crafting BUG? Then check out these two great Halloween spider tutorials. 

This Beaded Spider is done by
Jen @ CRAFTILY EVER AFTER
and her guest post tutorial can be found  


This darling little yarn spider is so easy to make and all you need is pipe cleaner, yarn and two buttons. Check out Jen Johnson's tutorial by clicking HERE


Sunday, October 17, 2010

PUMPKINS, PUMPKINS EVERYWHERE


WELCOME TO THE PUMPKIN POST
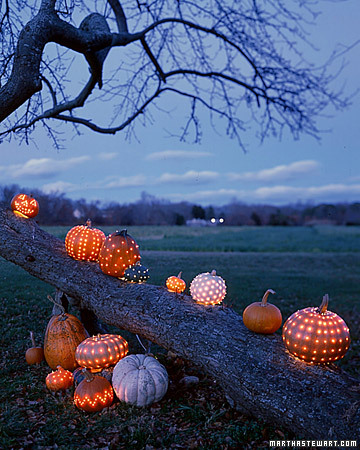
I've searched the net looking for fun things to do with those pumpkins....now hit the patch and get decorating people....


LAST BUT NOT LEAST HERE IS MY VINYL
MONOGRAM PUMPKIN.

I cut my letter "B" out using my cricut, the font is CURLZ. If you don't have a cricut no problemo. Head on over to BROWN PAPER PACKAGES, where she has posted a monogram pumpkin tutorial using scrapbook paper and Mod Podge.

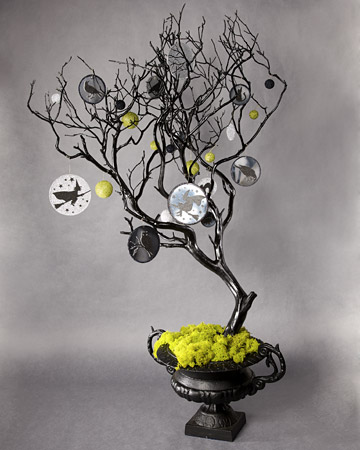
DIY SPOOKY HALLOWEEN TREE

I've been spotting these wonderful Halloween trees on blogs and in stores...for a pretty penny I might add. I decided to make my own on the cheap by collecting my own branches and making my own ornaments with stuff I had in my craft cupboards.

Before I show you the rest of my pictures let me wow you with some of the SPOOKY trees I found on the web.


Now here is my Spooky Halloween Tree. Can I just remind you that it was very affordable and fun to make. Best of all my daughter loves to chit chat about it when she is eating at the table.


Oh and I can't forget about my vinyl monogrammed pumpkin!!

Thanks for looking and
HAPPY HALLOWEEN
Related Posts with Thumbnails