Showing posts with label DIY projects. Show all posts

Tuesday, November 29, 2011

JuST SoMEThing I WhiPPEd uP!


I created this cute chalkboard tray for my kitchen last week using this white tray I found at Michaels. I roughed up the edges a tad because I like that slightly worn look!

I gave it 3 good coats of chalkboard paint...you can buy it anywhere...Michaels, Joanns, Home Depot.

I think it turned out cute!!


Tuesday, November 15, 2011

KiDS bLoCK KeY HooK

By now we've all heard of Pinterest and have most likely wasted spent a good amount of time on it.

When I came across this adorable key hook made from childrens blocks on Pinterest I knew I had to make one for our new house. This idea came from

Here is my take on it...

I started with a piece of scrap wood that I painted black and distressed on the edges.


Next I found me some blocks which were pretty easy to find since they are usually strewn all over my livingroom carpet...btw these little devils hurt if stepped on.

In the bottom of each block I screwed a ceiling hook.


 I painted my blocks with Rustoleums Heirloom white spray paint. I didn't want my hooks white so I covered them with tape.


To hold my picture I used these little do dads I purchased from Michaels. They are actually brads and are found in the scrapbooking section. I nailed four of them onto my board.


I used Gorilla Glue to affix my blocks onto my board. Those blocks are never going anywhere..


I used two saw tooth hangers on the back to hang my board, one on each side so the weight of my keys doesn't tip it to one side.


Thursday, September 1, 2011

P.B K.O. GIANT RULER GROWTH CHART


Try saying that 3 times fast.
I came across this great post by 517 Creations and I immediately got down to business making my own.
It's inspired by a Pottery Barn ruler that probably sells for one pretty penny.
In the end I liked my $8 one much better.

I purchased a 1x6x8 piece of board from Home Depot and cut it down to 5 feet.

After sanding my board, I stained it using some stain I had left over from some other projects.
The stain is very similar in colour to the Mini Wax special walnut stain.

Two coats later and I was ready to make this board look like a ruler.

I was going to use a felt pen to draw on the lines and numbers but instead I took the lazy easy way out and did it with my Cricut and extra sticky vinyl. The font I used was Century.


I marked an inch up the side of my board and placed a strip of black vinyl in different lengths like a real ruler. Every 12 inches I added a number.
I hung it two feet from the floor since I started with the number two on my board.


This can be used as an actual growth chart (which I plan on using it for) or would look cute in a craft room!!
Psst I'm linking up to

Wednesday, July 27, 2011

GIANT SCRABBLE TILES TUTORIAL


In a previous post I turned some old wooden blocks into giant scrabble tiles. My obsession didn't end there so I created my own. I'm thinking these will make great inexpensive Christmas gifts too.

I cut my 4 inch wood pieces and sanded them down rounding the corners a bit.

You could use a 2x4 if you want something that would stand up better on a shelf. Since I was hanging mine on the wall I wanted something less chunky.

I gave my blocks a quick coat of stain

Like my previous scrabble tile post I printed my vinyl letters and numbers on my Cricut and Sure Cuts Alot software using the font KALINGA for the letters and ARIEL for the numbers.

I used these handy little nails to hang my tiles on the wall. You just hammer the pointy end into your tile half way then push the other end into your wall.


Not sure what numbers go with what letters according to the real scrabble tiles?? Here ya go...

Friday, July 22, 2011

ASHTYN'S TABLE AND CHAIR SET


I'm excited to finally post this project because of the fact it's been a year in the making.

I purchased the unfinished SVALA set at IKEA that included a table and two chairs.

First I primed my table top and seats of the chair with white primer.

I free handed my animals onto the table top and painted them with Ceramcoat acrylic paints from Michaels.
I also used Ceramcoat paint for the seats of the chairs.
The table top and chair seats were given approx. 4 coats of this polyurethane from Benjamin Moore. I wouldn't normally use a high gloss finish on a project however, the sales person mentioned in the long run it does hold up better on a well used piece.

The legs of the table and chairs were given two coats of stain using this all in one stain also purchased from Benjamin Moore.
I'm very happy with how this set turned out and so is my little customer. I guess you can say nesting is a wonderful thing since I'm finally getting long overdue projects DONE!!


Psst I'm linking this project to....

Thursday, July 21, 2011

GIANT SCRABBLE TILES


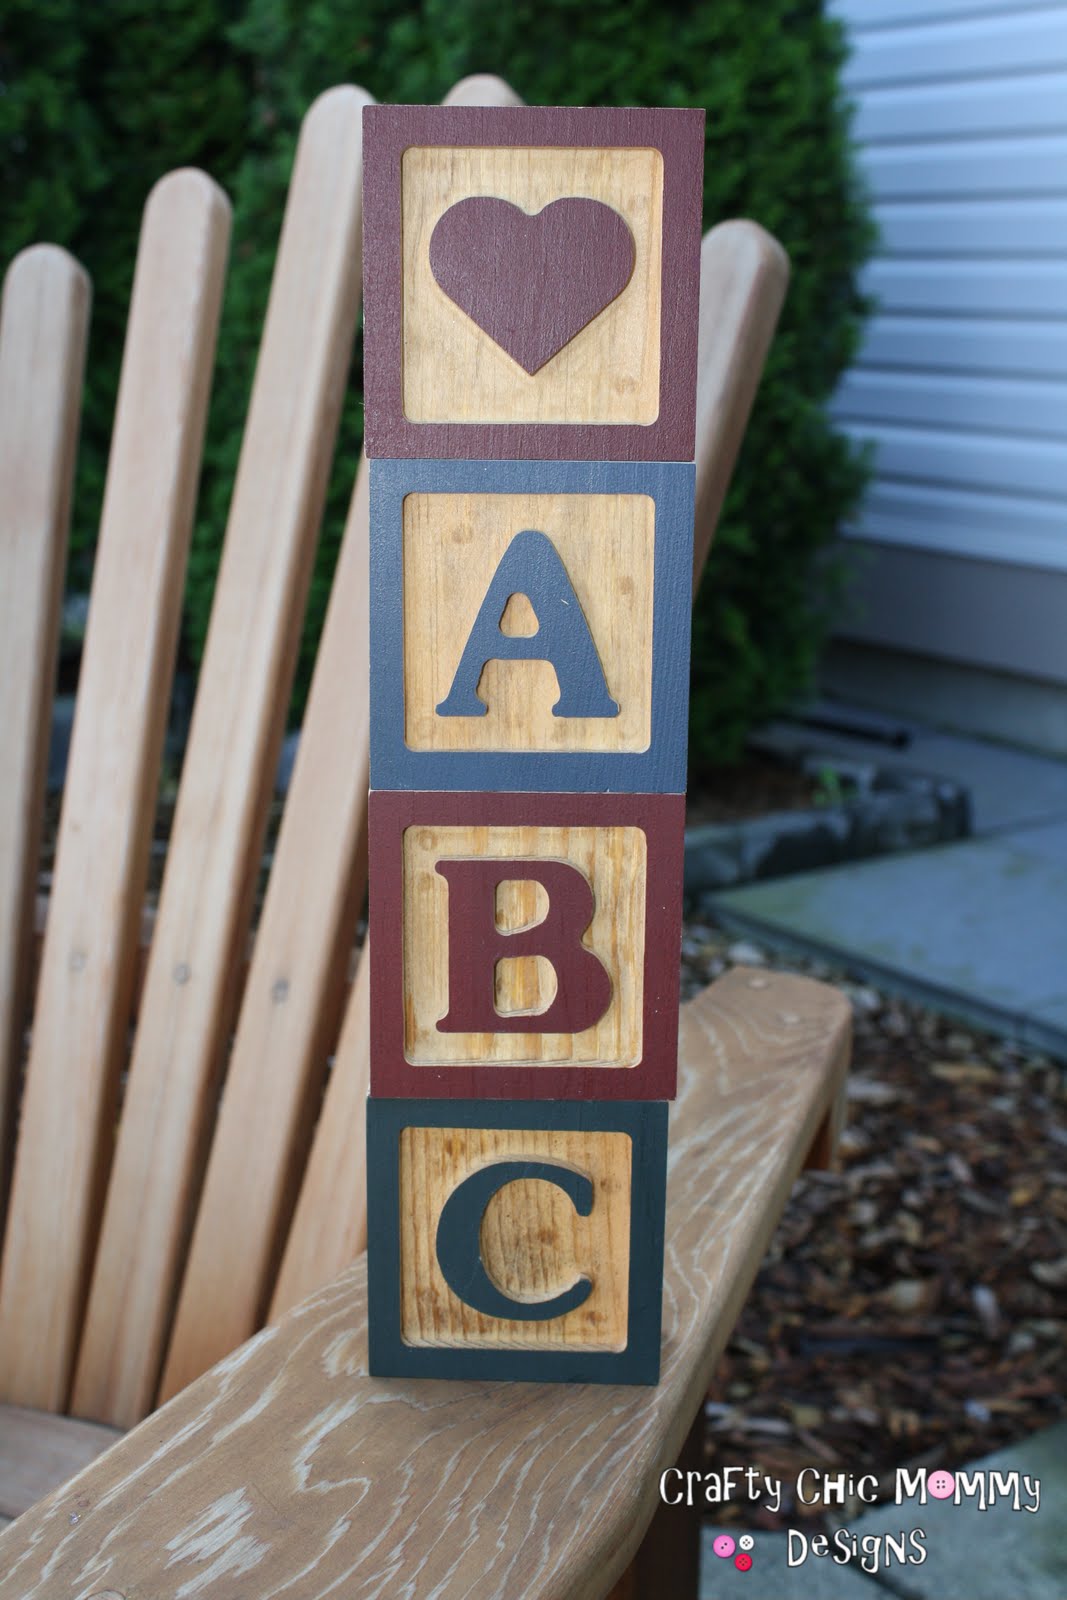
I had these wooden baby blocks in my daughters closet that weren't being used so I decided to repurpose them by turning them into giant scrabble tiles.


They were plain stained wood on the back so I just flipped them over and using my Cricut and Sure Cuts A Lot software gave them new life.


In case your wondering I used the KALINGA font for the letters and ARIEL font for the numbers.

I've started making my own tiles for gifts so I'll be sure to post my tutorial when I'm finished. 

Tuesday, July 12, 2011

BRASS FIREPLACE REDO

I really should of done this many years ago but better late than never right? I guess you can say nesting got the best of me yesterday since I decided to tackle my gold fireplace surround.

I don't have pics of the process since I was in a hurry to just get it done, however, I'll share what I did with some before and afters.

Here is my fireplace BEFORE....warning blindness may occur when looking at the BRASS


1. Start by removing your brass surround pieces. If you're unable to remove them or it's too yucky outside to spray paint you can use Rust-oleums high heat brush on paint instead.

2. Take them outside and lightly sand the brass. The idea here is to rough up the smooth slick surface so the paint adheres better.

3. Wipe and dry your brass pieces.

4. Gather your protective equipment that should be used when spray painting....safety first people!! 
*respirator
* protective eye wear
*long sleeve clothing


5. Cover your work surface with a drop cloth or cardboard. I wouldn't suggest plastic since your spray painted stuff will stick to it.

 Oh and spray paint outside in mild temperatures with no wind, unless you want the side of your house or your children spray painted in the process.

7. I used Rust-oleum's High Heat Spray Paint in black. It cost me a whopping 6 bucks from Home Depot.

8. Follow the directions on the spray paint can and start to paint your pieces.

Because the rain was on its way I only did two coats of spray paint where I probably would've done three of four....I'm obsessive like that.
Really a fireplace surround rarely gets touched so two is probably all you need.

9. Once your pieces are completely dry slap em back onto your fireplace and say goodbye to the 90's.


Wednesday, July 6, 2011

DIY COFFEE TABLE TRAY

I've been s-l-o-w-l-y working on projects and it seems as though I have a million of them going at once.

I'm happy to say I finally have one complete and off my to craft list, and that is this coffee table tray.

I started with a piece of flat board and some 2 x 1's I found in the garage....hmm I think those are 2 x 1's, I'm no professional wood worker ok.


I cut and sanded my wood pieces down to size so they all fit nicely together to create a tray. I used wood glue and small nails to keep it all together.


Next I painted the tray using two coats of my Behr Black Suede interior paint from Home Depot.

Once the paint was completely dry I enlisted my little assistant to help me sand the tray down to give it the worn, primitive look.


To complete the tray look I added these window pulls I purchased from Home Depot. They were a lot cheaper than  any of the handles in the knobs and handle section and I liked that they looked a little more shabby and worn looking.


At the last minute I remembered I needed to give this baby a coat of my Mini Wax Dark Walnut Stain.

There she is all done!!

Thursday, June 16, 2011

DIY Prints With Picnik

The other night I was browsing on ETSY (my guilty pleasure) and I came across some cute prints perfect for a child's room.

I then got to thinking "hey I could make those....I once saw a great tutorial over at 
I Am Momma Hear Me Roar,
that explains how to make your own printables easy peasily using the free program PICNIK"!! 

Before you head on over there to become inspired  check out the prints I made for my soon to arrive son's nursery.
If your looking for some inspiration for your own prints head on over to Etsy.
I printed these Picnik creations on my printer using best print quality and glossy or matte photo paper.

Once you've printed them add them to a cheap frame found at Walmart or Ikea and voila, instant art!!
I'll show off the real thing once I get them framed.


Related Posts with Thumbnails