Sickness is surely making its rounds in our house and now mama has come down with a flu bug despite having the H1N1 shot and the seasonal flu shot. Today I'm taking a small break to recooperate so I'll be back next next Tuesday with my TIPS FOR TOTS post.
Tuesday, March 16, 2010
Sunday, March 14, 2010
FELT HOUSE ALONG
So as I mentioned in a previous post, I'm working on making Ashtyn a felt play house that can either slip over a card table or a PVC frame. We chose to make our own PVC frame since we didn't have a suitable table. Here is what I've done so far on my felt house.
The front entrance. After looking at these pics I realized I need a porch light above the mail box to fill up that space. The 1116 house number comes from Ashtyn's month and date of birth...Nov 16th. I added snaps and ribbon to allow the door to remain up if Ashtyn chooses to once in a while. The mailbox opens and closes with a bit of velcro sewn on. And the lucky little girl already has mail from mommy.
For side number two of the house I made Ashtyn a laundry basket and laundry line. When the house is done I'll work on making her some little felt clothes to be able to "hang out to dry".
For side number three I gave the little felt house a window and a colourful pot of flowers. Oh and look who it is.....Ashtyn's beloved Boston Terrier, Derby. I'm thinking I might sew on a dog bone or dog dish with Derby's name on it and perhaps some little curtains to spruce up the window.
This week I'll be working on the back of the felt house which will be Ashtyn's little garden complete with an apple tree with juicy red apples ready for the pick'n. I can't wait to get this little house done so I can watch my little girl enjoy it. I even made it a little bigger so mommy can snuggle in once in a while.
If your interested in making a felt house then head over to Fireflies and Jellybeans blog where Fawnda is doing a Felt House Along!!
Labels:
DIY projects,
Felt playhouse,
Sewing
Tuesday, March 9, 2010
DIY KIDS BUSY BOOK - TIPS FOR TOTS TUESDAY
Last week I was busy making my daughter her very own busy book. I've seen these made a lot with fabric and felt but I thought I would put my Cricut to use to make Ashtyn a cardstock busy book. I saw another cardstock busy book on one of the blogs I follow but it was a while ago and for the life of me I can't remember which one it was. If it was you then let me know so I can give credit where credit is due.
I laminated the pieces and pages for durability and used velcro so the pieces stick and can be moved around easily. I started with a few simple pages and will make more as Ashtyn grows.
I'll be sure to post my new creations as I go.
Here's what I've done so far.
On the back of each page I included a poem or song to coordinate with the theme of the page.
Labels:
DIY projects,
Kids Crafts,
Tips for Tots
Wednesday, March 3, 2010
TIPS FOR TOTS WEDNESDAY??!!
Who knew that yesterday was Tuesday? I surely didn't....or else this post would've been on time...and actually posted on TIPS FOR TOTS TUESDAY. Sigh....Mommy brain got the best of me..
Anywho I say better late than never...here it is.
So what can you do with a placemat, besides rest a plate and cutlery on it.....the answer is LOTS. Click on the wonderful links provided to see their tutorials.
1. Make a Quiet Activity Book
2. Make a Kids Tool Belt
3. Make a car cozy
4. Make a child's apron
In case you didn't see it last week, here is my tutorial to this quick and easy apron I made
5. Make an advent calendar
6. Make a Chore Chart
7. Make a Diaper Clutch
And something for the mommies...
8. Make a Purse
So the next time your at the dollar store don't forget to pick up some placemats.
Labels:
DIY projects,
Tips for Tots
Saturday, February 27, 2010
Felt Play House Along
So I'm sure most of you have seen these, drooled over these, or have been tempted but intimidated to make one of these. They are card table felt play houses and they are ADORABLE.
I originally saw this idea when my daughter was first born and can I admit it was the furthest thing on my to craft list. Now that my daughter is almost a year and a half she is starting to love cozy little spaces. And lets face it my makeshift fort in the living room is just not cutting it.
They are designed to slip right over your kitchen table or other table you may have in your house to make an instant play space for your children. Don't worry if you don't have a table that would work for this....you can also build an instant frame using PVC pipe. This also makes it transportable to the backyard or to Grandma's house.
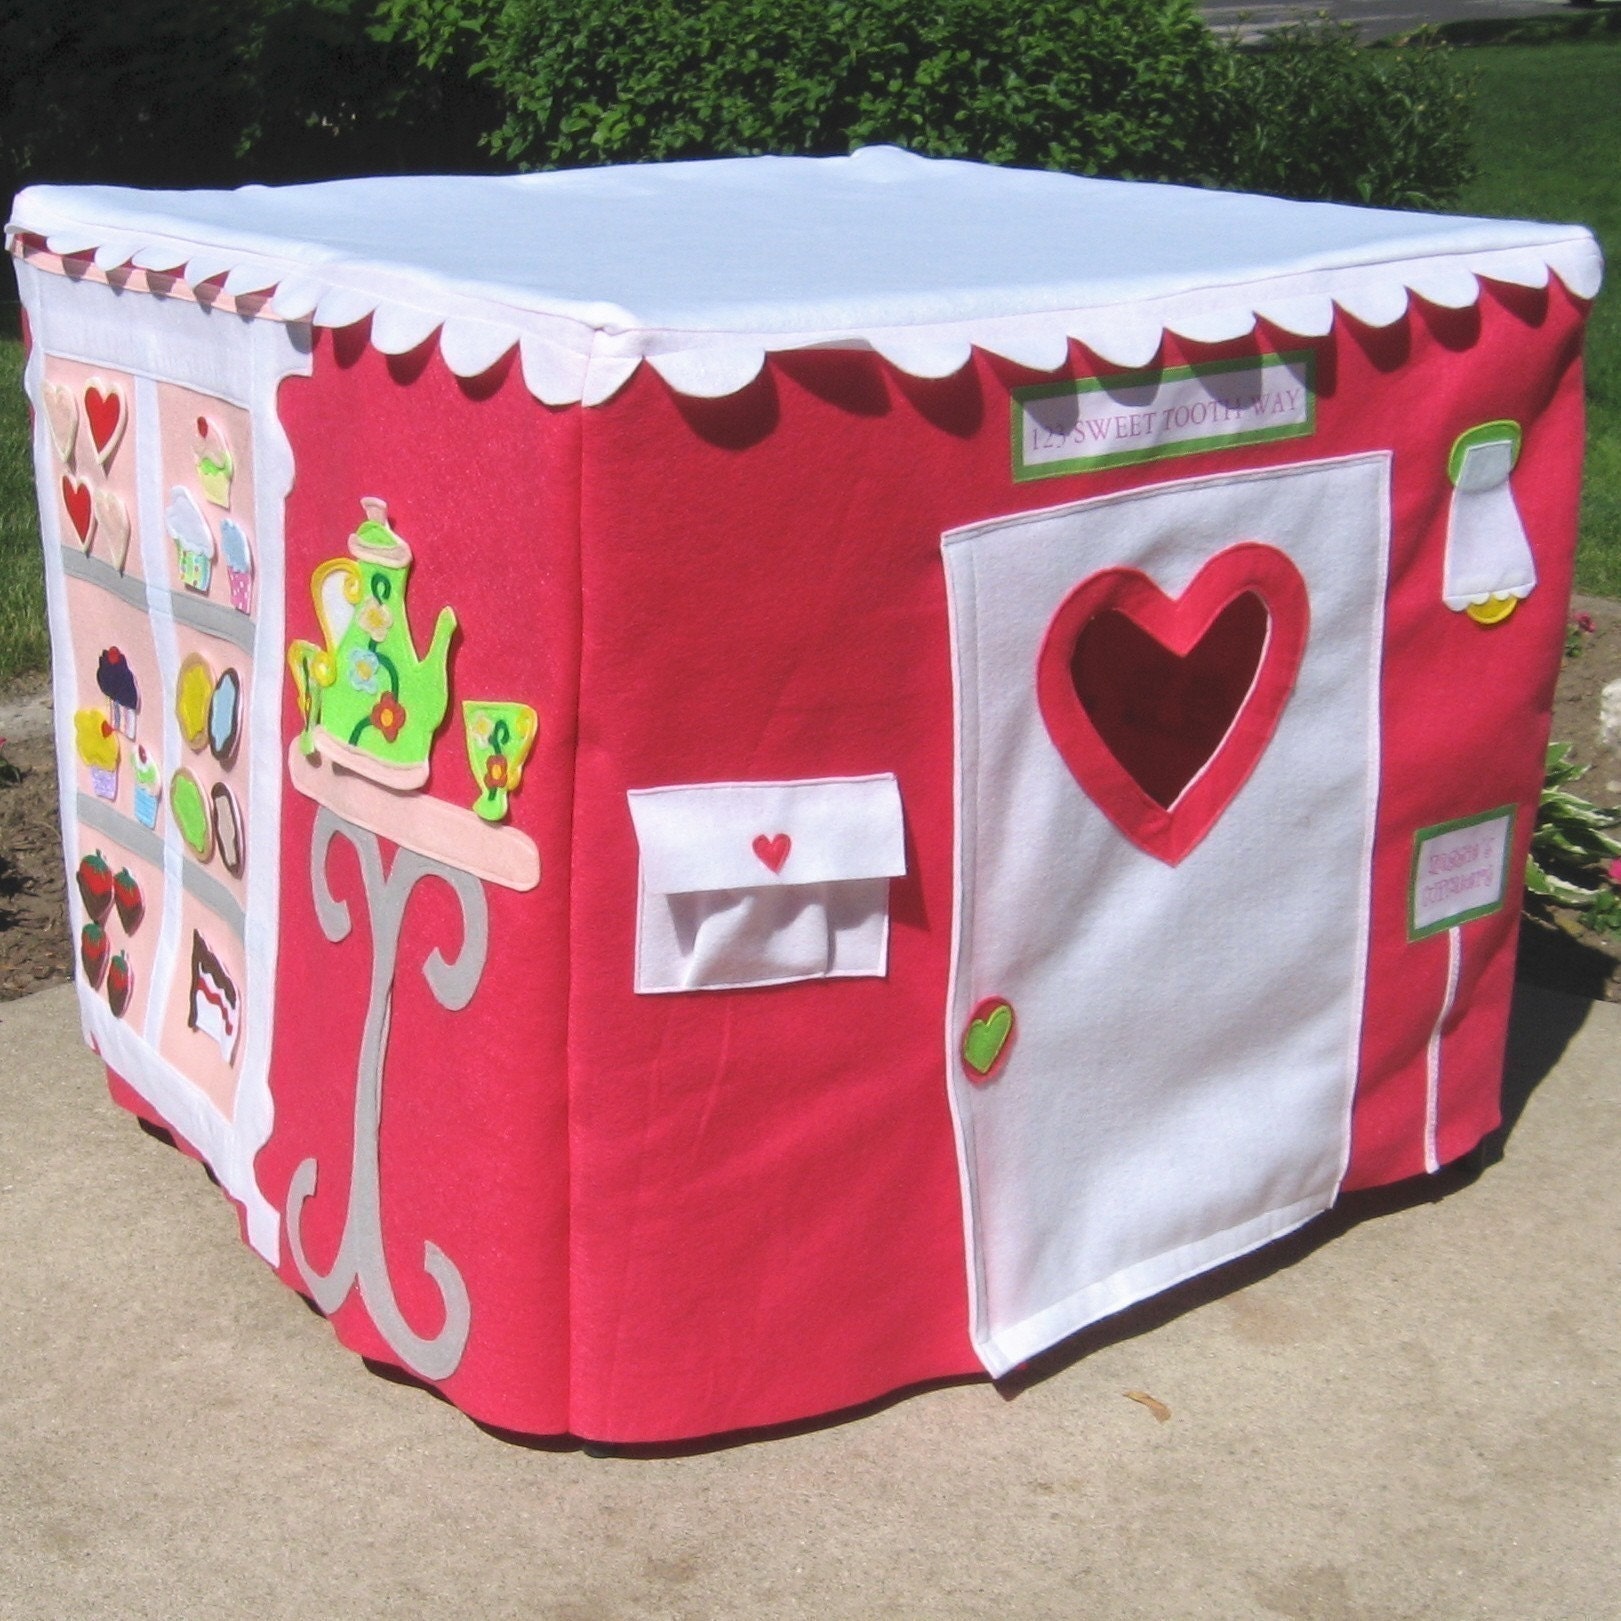
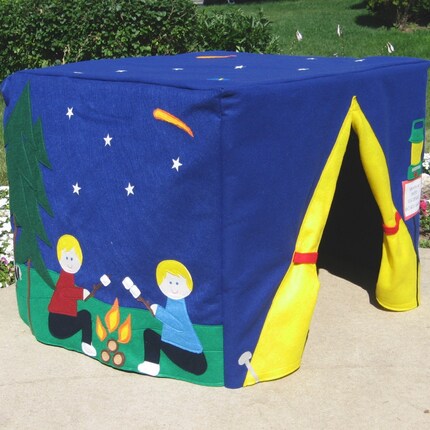
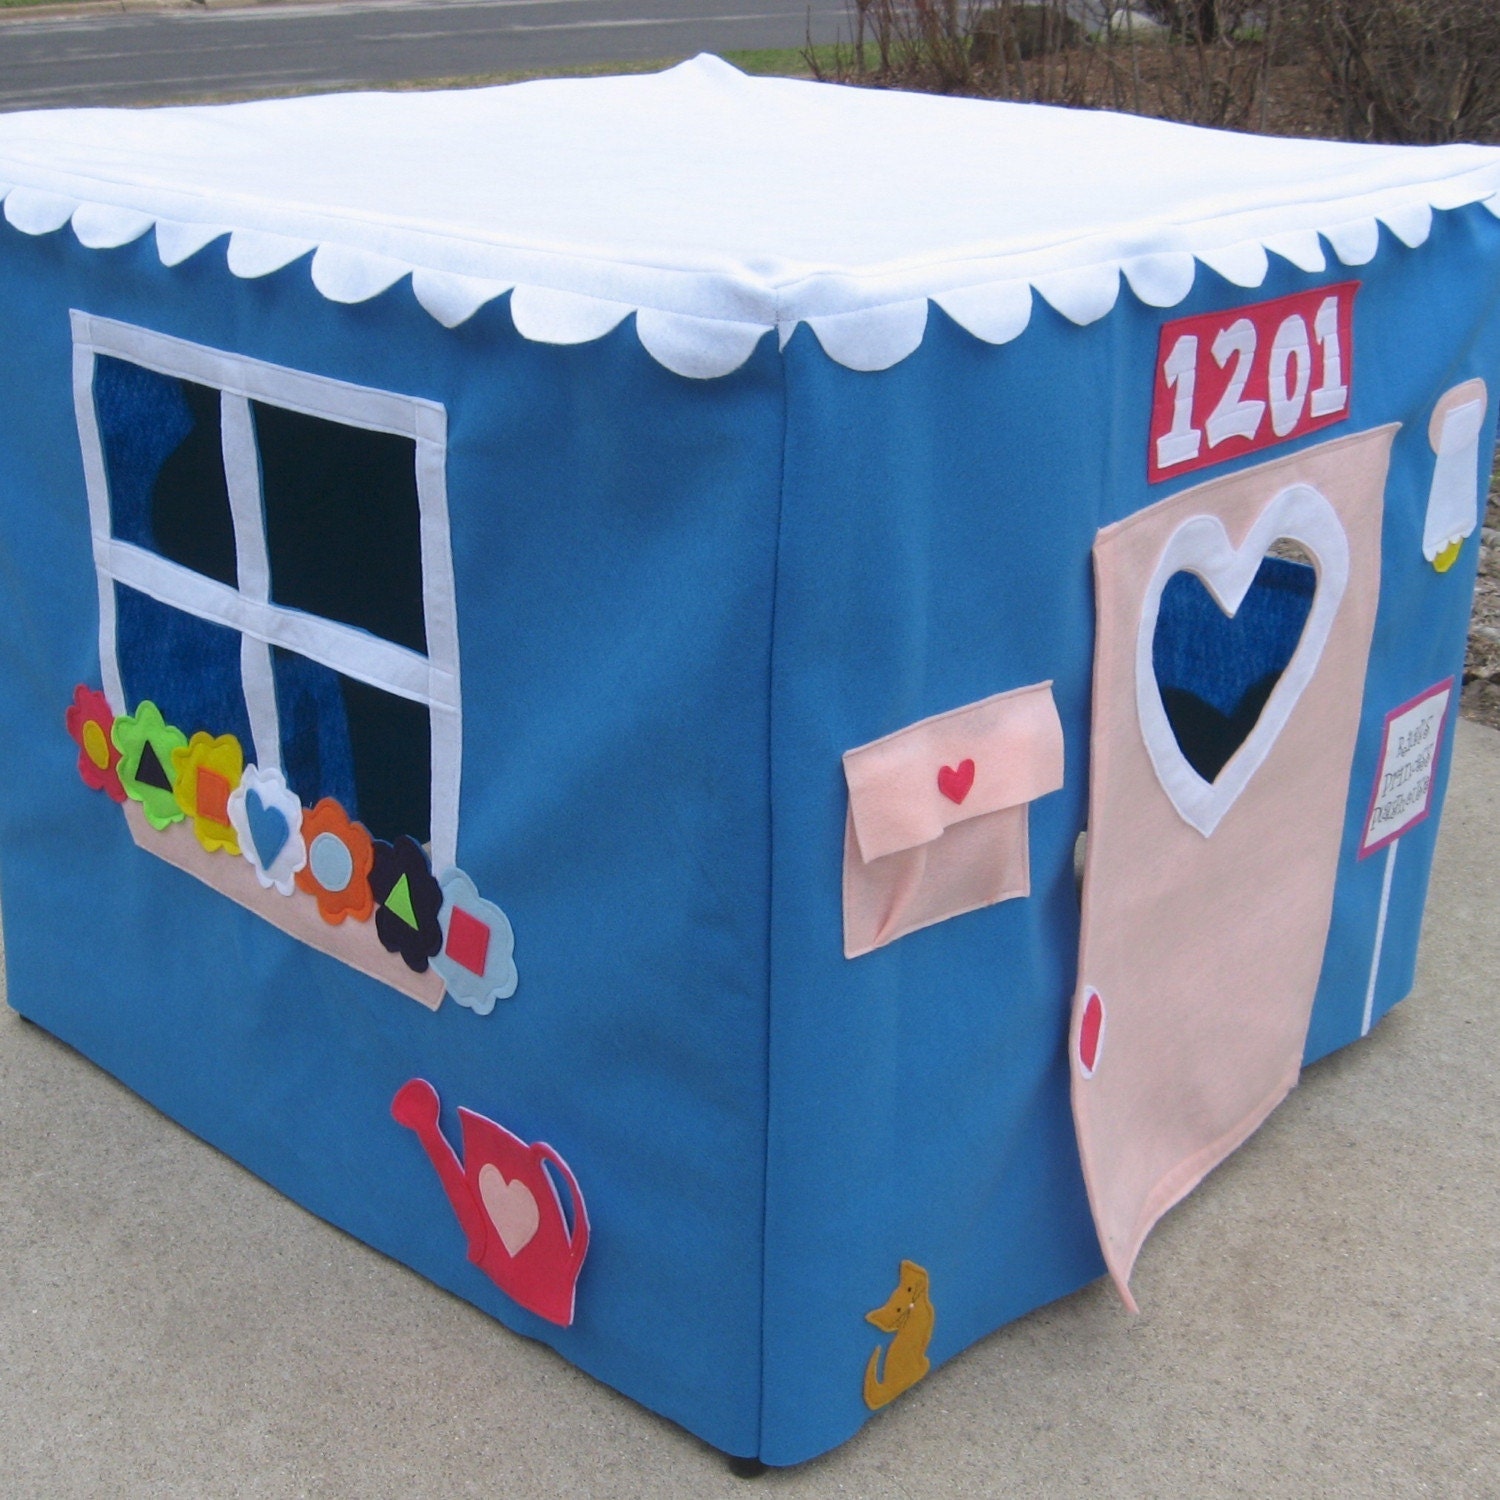
For those of you wanting to purchase a lovely felt play house then look no further than Imaginative Play Toys. Here are some of my favourites.
So you're not really into spending the big bucks, you can sew a straight line and you want to make something your children will LOVE then head on over to Fireflies and Jellybean Blog where they are doing a
It's a five week process walking you through the steps to make a felt playhouse. The best part is you can make it as simple or as elaborate as you want....I've seen felt houses with removable parts on the outside such as fruit for the tree and veggies for the garden. This is the closest I'm ever going to get to picking the colours for a house being built...tee hee.
Next weekend I'm heading to the US to hit up a Joann's for some affordable felt and then I'm getting down to business. I'll be sure to post pics as I go along...if all goes well.
I sure hope you will join in on the fun!!
Next weekend I'm heading to the US to hit up a Joann's for some affordable felt and then I'm getting down to business. I'll be sure to post pics as I go along...if all goes well.
I sure hope you will join in on the fun!!
Here's some other great felt play houses to get your creative juices flowing and to inspire you!!
Labels:
DIY projects,
Felt playhouse,
Sewing
Tuesday, February 23, 2010
CREATIVITY WEEK @ Seven-Thirty-Three Creative Blog
Head on over there to check out Kim's blog where she will be featuring an array of guest posters sharing their wonderful crafty talents. I might even sneak a tutorial in there. A week of crafts and GIVEAWAYS = one kick A** week... so go check it out.
Labels:
Great sites
TIPS FOR TOTS TUESDAY - GUEST POST
I was honoured when Jessica asked me to be her first guest poster for her TWO TIPS TUESDAY FEATURE....."uh yeah" I said "of course I'll guest post on your totally WONDERFUL blog". I'm featuring my 5 minute kids placemat apron tutorial. It's easy peasy, cheap and looks adorable on your little one. If your interested in guest posting on TWO SHADES OF PINK drop Jessica a line while your visiting.
I'm off to work on a new craft project in which I'll be posting soon!!
Labels:
Tips for Tots
Sunday, February 14, 2010
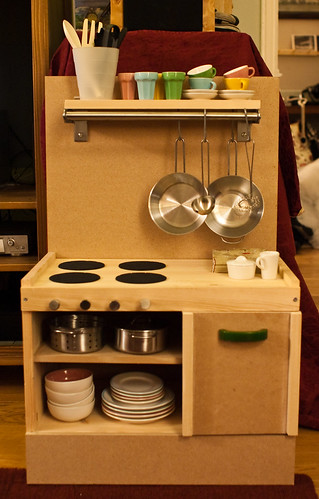
MY CUTE DIY WOODEN KITCHEN
This is probably my best craft project EVER. Usually I make crafts that sit on a shelf or hang on a wall and sure they are great but nothing compared to the joy this will bring my daughter and if I built it well enough maybe her kids too.
So let me just come out and say that I didn't INVENT this idea. Who knows who did....just like who knows who invented Mod Podge tile coasters?? One night I decided to google wooden play kitchens and I came across the pics below. Immediately I knew this was at the top of my to craft list. These adorable pics I found on Ohdeedoh and Flikr jumpstarted this project.
Ok lets get down to details already. I was originally going to make an all in one kitchen like the pictures above. However, I wanted Ashtyn to have a bit more space for her collection of kitchen goodies. I purchased two IKEA RAST night tables, one for the stove and oven and one for the sink, counter and storage space. The RAST is $19.99 in Canada and $14.99 in the US. If your wanting to make it more affordable then just make an all in one kitchen like the pics above.
Also keep in mind that this night table is fairly low. My daughter is just over a year so it will be perfect height for right now. In the future I will add a bottom piece of wood with some taller casters to bring it up even higher for her.
Now the price for the parts of the kitchen can go both ways. If you look for items at second hand shops or the dollar store this can really keep the cost down. You will notice that some people will use real bathroom faucets and depending on if these are purchased new or used can really make a difference. It's your design so you decide what is best for you. I decided to buy new hardware for Ashtyn's kitchen since we had a gift card for Rona.
Here is a break down of what I used
* Stainless steel bowl for sink
* PANNA coasters from Ikea for the burners
* A Plumbing pipe for the faucet found at Home Depot or Rona
* Oven Handle and knobs found at Home Depot or Rona
* Extra piece of wood to make back splash, shelf and oven door also Home Depot or Rona
* IKEA BYGEL Rail , GRUNDTAL S hooks and BYGEL cutlery hanger to hang untensils from
Don't forget the little things in which your hubby or yourself might already have
* Wood glue
* Screws
* Hinges and magnetic catch for the oven door
* Sander or Sandpaper
* Jig saw
* Drill
* Drill
Here's some pics of my project in process
The oven door with the little window ready to cut
The cuts are made... now for the sanding
The oven door with it's cute little handle and peek in window....perfect for checking on your cupcakes!!
This is my splurge accessory. A cute little spoon handle for Ashtyn's tea towel
The backsplash with shelf and Ikea hanger
Every little girl needs a stainless steel kitchen with a flat top stove...And a utensil rack..
Here is Ashtyn's play kitchen in it's new home....her bedroom. She absolutely loves it and played with it for an hour this morning. This project was a SUCCESS!!
As Ashtyn gets older I will give her some letter magnets and paper and she can make her own grocery lists.
I hope you enjoyed looking at my favourite craft project...maybe I even inspired you to make your own wooden kitchen. If you've made a wooden kitchen I would love to see your pics.
Thanks for looking!!
I'm linking this project to....
I Made it Without My Hubby Link Party @ Shanty 2 Chic
Talented Tuesday at My Frugal Family
Today's Creative Blog
Making the World Cuter
DIY DAY @ A Soft Place to Land
Metamorphosis Monday
Sumos Sweet Stuff
Just Something I Whipped Up Monday @ The Girl Creative
Whatever Goes Wednesday @ Someday Crafts
Transformation Thursday @ The Shabby Chic Cottage
Penny Pinching Party @ the Thrifty Home
Show off your Stuff @ Fireflies and Jellybeans
Strut Your Stuff Thursday @ Somewhat Simple
Thursdays Treasures @ Treasures for Tots
Weekend Wrap up Party @ Tater Tots and Jello
I'm linking this project to....
I Made it Without My Hubby Link Party @ Shanty 2 Chic
Talented Tuesday at My Frugal Family
Today's Creative Blog
Making the World Cuter
DIY DAY @ A Soft Place to Land
Metamorphosis Monday
Sumos Sweet Stuff
Just Something I Whipped Up Monday @ The Girl Creative
Whatever Goes Wednesday @ Someday Crafts
Transformation Thursday @ The Shabby Chic Cottage
Penny Pinching Party @ the Thrifty Home
Show off your Stuff @ Fireflies and Jellybeans
Strut Your Stuff Thursday @ Somewhat Simple
Thursdays Treasures @ Treasures for Tots
Weekend Wrap up Party @ Tater Tots and Jello
Labels:
DIY projects
Subscribe to:
Posts (Atom)