Everytime my mom comes to visit me I prepare a craft for us to do during her stay. This visit we made vinyled block letters. Remember I'm on a huge vinyl kick right now after my Sure Cuts Along purchase. This craft is obviously fairly easy to make but here are my step by step directions and pics. Also can I just say that this project costs almost next to nothing to make once you have some of the big costs out of the way...like the Cricut machine.
1. Purchase an unfinished 2 x 4 piece of wood from Home Depot or any other home improvement store. A huge piece cost me $2.
2. Cut your wood into desired heights. I wanted my blocks all sizes.
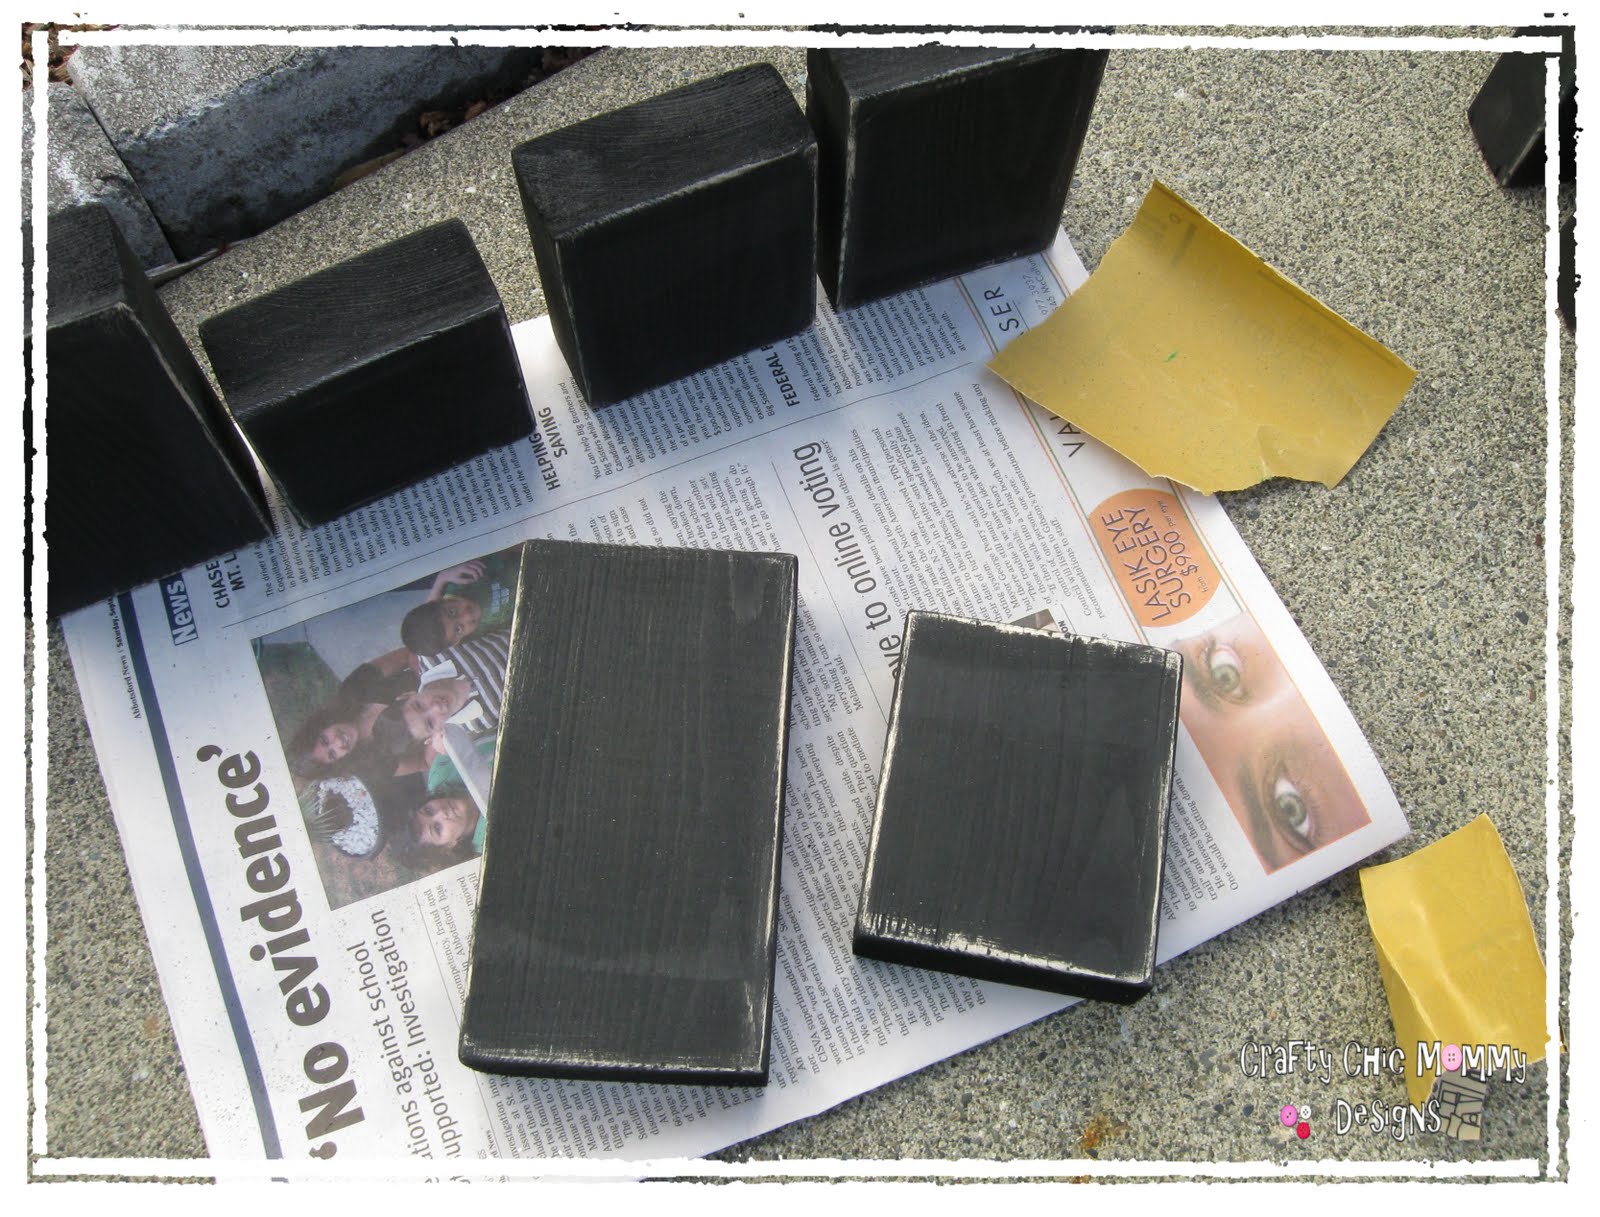
3. Sand your wood
4. Stain or paint your wood. We used black acrylic paint.
5. While your wood is drying choose the scrapbook paper for
your blocks. Note*** Instead of just cutting the paper for the blocks we ripped it with a ruler to create more of a rough, less perfect looking effect.
6. Once blocks are completely dry, sand the edges a bit to give them a worn distressed edge.
7. Using Mod Podge glue your scrapbook paper onto your blocks.
8. Almost Done!!! Put your vinyl letters on each block. And if you choose, you can embellish with buttons, ribbons etc. We used a button to dot the "i".
Here's how ours turned out!! Tomorrow I might start working on a set that says "Harvest" Or "Give Thanks".