Friday, September 17, 2010

WoODen PUmpKins


I made these wooden pumpkins with the left over scrap from my  Family blocks. Again they were easy and cheap to make which is my kinda craft...

Here's what I did

#1 First I cut my wood in varying sizes and sanded the corners at the top. I also cut smaller pieces for the pumpkin stems and then sanded all my wood.
#2 I added some dimension to the pumpkins by sawing some lines down the front.


#3 Next I painted the pumpkins orange and stems brown. Can I just admit that it took me three coats of orange paint to get the colour I wanted....In the end I used Ceramcoat Acrylic paint in the colour Terra Cotta. When I make two more sets this weekend it should go a lot faster!!

#4 Once completely dry I took my sandpaper and roughed up the edges. I love the distressed look.


Tuesday, September 14, 2010

Vinyl Block Letters

Everytime my mom comes to visit me I prepare a craft for us to do during her stay. This visit we made vinyled block letters. Remember I'm on a huge vinyl kick right now after my Sure Cuts Along purchase. This craft is obviously fairly easy to make but here are my step by step directions and pics. Also can I just say that this project costs almost next to nothing to make once you have
some of the big costs out of the way...like the Cricut machine.

1. Purchase an unfinished 2 x 4 piece of wood from Home Depot or any other home improvement store. A huge piece cost me $2.

2. Cut your wood into desired heights. I wanted my blocks all sizes.

3. Sand your wood

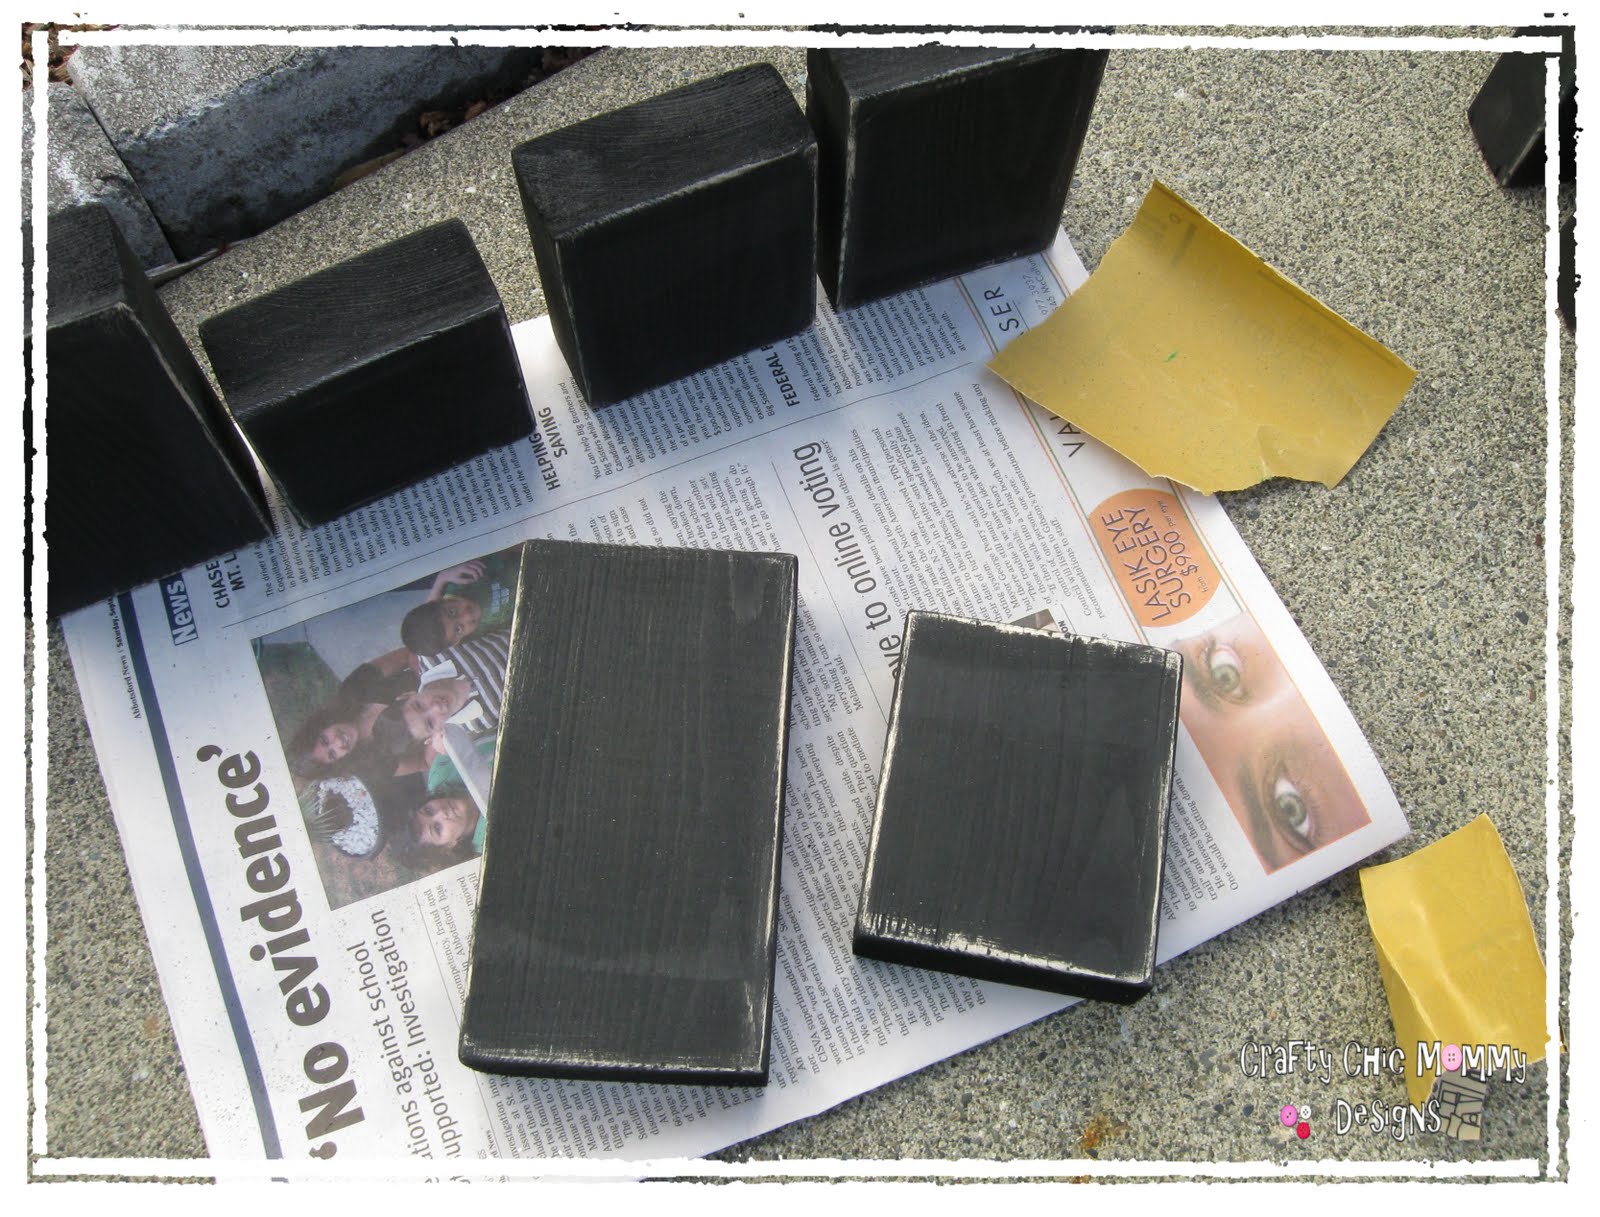
4. Stain or paint your wood. We used black acrylic paint.

5. While your wood is drying choose the scrapbook paper for
your blocks. Note*** Instead of just cutting the paper for the blocks we ripped it with a ruler to create more of a rough, less perfect looking effect.

6. Once blocks are completely dry, sand the edges a bit to give them a worn distressed edge.

7. Using Mod Podge glue your scrapbook paper onto your blocks.

8. Almost Done!!! Put your vinyl letters on each block. And if you choose, you can embellish with buttons, ribbons etc. We used a button to dot the "i".


Here's how ours turned out!! Tomorrow I might start working on a set that says "Harvest" Or "Give Thanks".


Saturday, September 11, 2010

The CRICUT needs some LoViN too!!

Hmmmm....what else can I vinyl tonight??
MY CRICUT!!!
I told my husband if one day he sees that our sock drawers are labelled in vinyl that he needs to get me some help.....and fast!!


Jazz up those Canisters!!

Last Christmas I got a Cricut....wahoo. A few days ago I purchased Sure Cuts A Lot software to use with my Cricut....double wahoo. After figuring it out and becoming familiar with it I'm thinking why didn't I buy this program sooner?? No need for more expensive cartridges. This program enables you to cut ANYTHING you want on your cricut using ALL the fonts on your computer and any shape you find on your computer. There are also tonnes of websites and blogs that you can download free shapes from. You must check out scrapping table to purchase your SCAL while it's on sale.  With that sale you get a bunch of free awesome shapes along with it.

Ok onto the project right???

So tonight I used my Cricut and SCAL software to jazz up my baking canisters. I used to have these boring old laminated ones I made years ago...
Pretty dorky right??
Well here are my new vinyl ones....a lot nicer I must say so myself.


Oh and can I just state that I'm not crazy putting the icing sugar wording on the chocolate chip canister. That is actually home to the icing sugar when I buy some more....as for the chocolate chips??? They go in my tummy!!!

Thursday, August 5, 2010

Crayon Cozies

As some of you may recall I did a giveaway a few months back for a custom designed crayon cozy. The lady who won had two grandchildren...a boy and a girl. Instead of them having to fight over one crayon cozy I made each of them their own. The little boy chose Lightening McQueen and the little girl chose Hello Kitty.
For those of you who missed my crayon cozy tutorial click HERE.


Wednesday, August 4, 2010

My Craftin Lull is Over

As much as I love to craft...sometimes I just need a break. All my free time has been spent packing for camping, camping and cleaning up after camping. This week during a brief moment of silence I heard a little voice calling out to me....and lone and behold it was my sewing machine. There it sat in the corner of my room just begging to come out and play.  So I immediately got down to some serious crafting business.

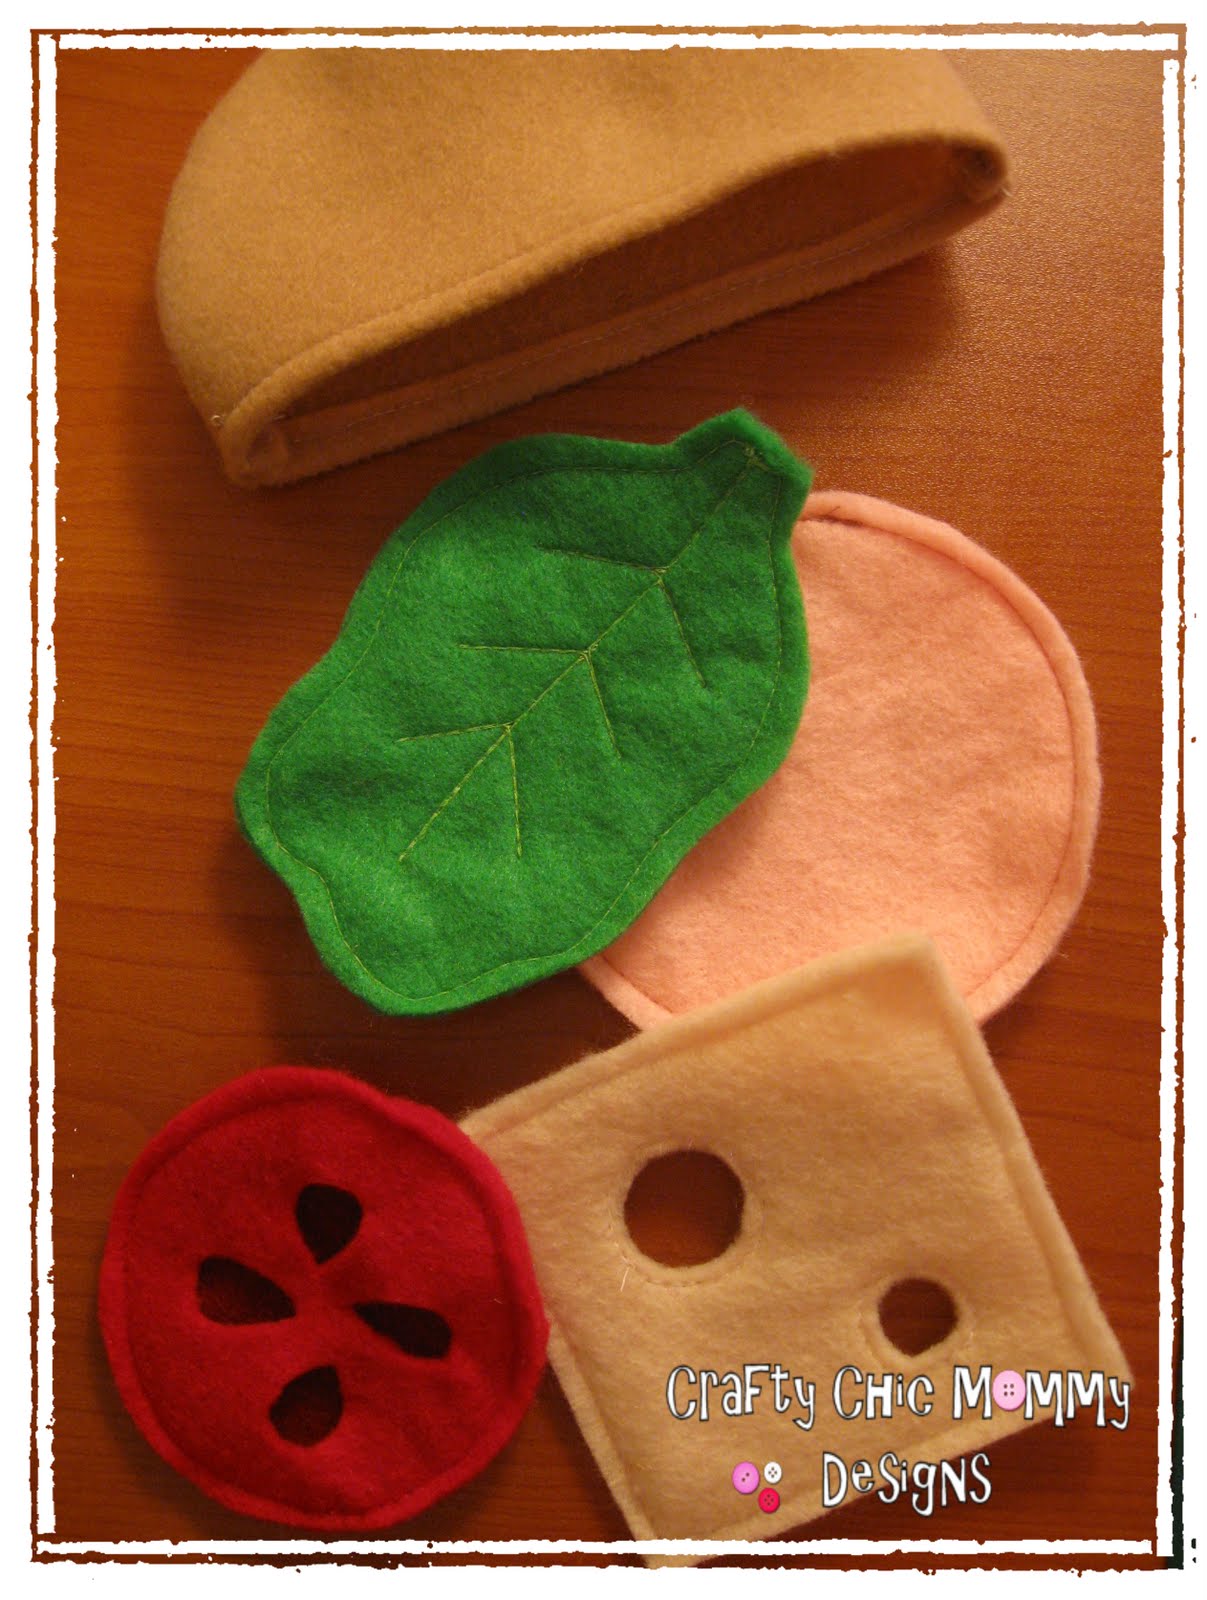
I've been wanting to jump on the felt food frenzy train for a long time and now that Ashtyn is almost two I thought it would be a good time. I sewed up a brown "paper bag" and began filling it with some yummy goodies. Here is what I made so far....

A paper bag lunch complete with a ham and veggie pita, ripple chips and some cookies for dessert
Everything you need for a perfect smore...well except the fire


Friday, June 25, 2010

SUMMER IS HERE..LETS GET MESSY PART III


EASY  PEASY  FINGERPAINT

2 cups cold water
2 cups white flour
food colouring

Pour water into a large bowl. While stirring slowly add the flour. Once flour and water are mixed add into smaller bowls and add food colouring, now....


 .....PAINT


Thursday, June 24, 2010

SUMMER IS HERE.....LETS GET MESSY Part II


DIY WATER TABLE

Don't have a fancy outdoor water table for your little one?? No worries. Make one yourself. It's really a no brainer but I thought I would share.

Take a plastic bin with enough play space for one or two children. Fill with water, fill with toys and listen to those shrieks of enjoyment. Clean up is a breeze, empty the water and store the toys inside the bin.

Get cReATiVe.....

* add a drop or two of food colouring to the water....green for swamp water, blue for the ocean. Plastic animals can be added to the "habitat"

* add some dish soap

*add different objects to test for sinking or floating like rocks and corks

*throw in some stuff from the kitchen like a sponge, funnel, turkey baster or strainer.


SUMMER IS HERE....LETS GET MESSY Part I


OoBLeCk ReCIPe

"Oobleck is a non-newtonian fluid. That is, it acts like a liquid when being poured, but like a solid when a force is acting on it. You can grab it and then it will ooze out of your hands. Make enough Oobleck and you can even walk on it"!

"Oobleck gets its name from the Dr. Seuss book Bartholomew and the Oobleck where a gooey green substance, Oobleck, fell from the sky and wreaked havoc in the kingdom".

MATERIALS
2 cups corn starch
1 cup water
a bowl
 food colouring (optional)

MIX EVERYTHING TOGETHER IN A BOWL....THEN PLAY

This stuff is great cause it washes off easily with water and is non toxic for curious little tasters!!

WARNING: Adults will have fun playing in this too


Friday, June 11, 2010

GRADUATION CUPCAKES

This past week my husband graduated from University. While working full time and taking care of a family he managed to get his Bachelors degree. So to help celebrate I made him some graduation cupcakes. I thought I would share them with you in case you have a big graduation celebration now or in the future.

Here is what you need

* Licorice laces
* Mini reece or caramel cups
* Square chocolates or cookies. I used crispy crunch bars I found in the bulk section of my grocery store
* Mini M&Ms

1. Ice your cupcakes

2. Place a chocolate cup on top of the icing and then add a square chocolate on top of that securing it with a little dab of icing.
I used my cheese grater to smooth down the surface of the chocolate cup

3. Cut your licorice laces to size to make the tassles on the grad cap. Stick them on using a small amount of icing.

4. Finish them off by adding a mini M & M's on top of the "tassles"

And there you have it some cute graduation cupcakes. Now I won't get into what happened to my poor cupcakes on the way to my husbands graduation get together. Lets just say leave your cupcake pan on the floor or on someones lap and not on the back seat of the vehicle. Oops.


Related Posts with Thumbnails