Sunday, December 27, 2009

Chic Magnetic Board

I hope everyone had a wonderful Christmas and Santa was good to all. I was one spoiled girl after I told my hubby we wern't doing presents for each other this year. Under my tree was a Cricut with all the fix ins. I can't wait to open it up and start using it. I have so many ideas running through my mind. I have a feeling that 2010 is going to be a VERY crafty year. I'm in the process of moving my craft area from the cold, dark spider infested basement to upstairs just off of our master bedroom. I'm trying to find unique ways to store all my crap without breaking the bank. So far I've collected mason jars big and small and purchased some handy wicker baskets.

Anywho I've been wanting to share my magnetic message board with everyone. I'm going to make one of these for my craft area as well. All you need is a frame of your choice and some galvanized panning which can be found at any home improvement store- I found mine at Home Depot. Take the glass out of your frame and trace around the edge of it onto your galvanized panning. Take some tin snips and cut along the line. Be very careful as the metal is VERY SHARP. I wore work gloves while doing this. Place the metal into your frame and Voila. Now you have a reason to make some of those funky clothes line clips like the ones below found at Blue Cricket Designs.


If your looking for a board that looks more finished try covering it with burlap like this cute one found at Out of Chaos.

Or covered with fabric like this very chic one found at monicamccoy.blogspot.com/.


Monday, December 21, 2009

TIPS FOR TOTS TUESDAY - December 22

THIS WEEK FEATURES AN EASY TO MAKE COUNTING BOOK AND TWO AMAZING BLOGS WITH PRESCHOOL ACTIVITIES GALORE
Do you want something extra to throw in your child's stocking? Something easy and cheap to make, as well as a great learning tool? I made this counting book the other day for Ashtyn and used objects from around our house in the pictures. I was going to originally slide the pictures into a 5 x 7 photo book but A. I couldn't find one and B. I could envision Ashtyn pulling them out of the sleeves...one year olds are so destructive. I added the words using Paint Shop Pro and finished the book off by laminating the pages for extra durability. I'm also going to make her a FAMILY book and a BODY PARTS book.


TWO AMAZING SITES LOADED WITH PRESCHOOL FUN!

This past week I've been fortunate enough to have discovered two amazing blogs that I just had to share with you. The first is Quirky momma. This site is simply wonderful and is filled with tonnes of great stuff for mommy's and children. Are you looking for a way to teach your child about animals, how about the earth? Well look no further this site gives you a list of activities to enrich your child's learning in these areas and more. I especially love Quirky Momma's aka Rachel's fruit loop activity. We did this at preschool a few times and let me tell you a box of fruit loops, a muffin tin and some string can get those preschoolers minds and little fine motor skills developing. So grab youself an egg nog latte and go check out Quirky Momma's website.

The second blog I came across this week is a wonderful gem created by a stay at home mommy named Crystal. I'm not sure what she did as her career before she became a mommy, perhaps a teacher. This girl has a lot of great ideas and those little girls are lucky to have her as a mommy. Check out her BLOG called Always Something to Learn, and when you get there take a look at her archives. She has activities with pictures for all the letters in the alphabet as well as activities by theme. She also has another Blog called Crystals Craft Spot.

A special thank you to Rachel and Crystal for inspiring me with your great ideas and taking the time out from your busy day to share them with the blogging world.

Thursday, December 17, 2009

Homemade Peanut Butter Cups and More


What if I told you that you could make YUMMY homemade peanut butter cups, chocolate and coffee bean cups or fruit, nut and CHoCoLAte cups at home in no time. You would say you're NUTS. I went on a baking frenzy yesterday and made all of this and ate all of this..... but enough about me. Here are the recipes below.


PEANUT BUTTER CUPS

Ingredients 
1 cup confectioners sugar
1 cup creamy peanut butter
1/2 cup packed brown sugar
2 tablespoons butter, softened
1 teaspoon vanilla extract
2 cups semisweet chocolate chips
1/4 cup shortening

1. In a small bowl, combine confectioner's sugar, peanut butter, brown sugar, butter and vanilla; cover and set aside.

2. In a microwave safe bowl, melt the chocolate chips and shortening. Pour teaspoonfuls into 2-inch foil muffin cups. ( I used my silicone cupcake cups for this- if you want to make bite sized peanut butter cups then use mini cups). Drop a rounded teaspoonful of peanut butter mixture into each cup; top each with 2 teaspoons of the chocolate mixture.

3. Refrigerate until set. This is the hardest part of the recipe....waiting to eat one. Store in an airtight container.

Variations: I also made fruit and nut cups. Instead of adding the peanut butter mixture in the middle I added dried cranberries, raisins, sliced almonds, and chopped walnuts. They tasted like a Fruit and nut bar. I didn't stop there. Tonight in my mini cups I lined them with a few coffee beans and added the melted chocolate and made mini coffee bean chocolate cups.


Tuesday, December 15, 2009

TIPS FOR TOTS TUESDAY - December 15th

We made these Santa Baby Candle Holders one year for the parent gifts at preschool and the kids and parents loved them. All you need is a clean baby jar, red tissue paper cut up into squares, a strip of black paper for Santa's belt and a tab off of a pop can for Santa's belt buckle. Cover the jar with white glue and have your child(ren) cover the jar with the red tissue paper. Run the black paper through the holes on the pop tab then glue to the middle of the jar. Cover again with a final layer of white glue and let dry. Pop a tea light in and voila!!

Here's another cute idea I found on a wonderful blog I love to visit called A Little Tipsy. I'm thinking I'm going to have to try this one out for sure. What a wonderful keepsake to be brought out each year and very symbolic since it's something the family creates together. Michelle's handprint tutorial with pictures can be found here


My Book Choices this week are Jan Brett's:

GINGERBREAD BABY- That sassy cookie! When Matti opens the oven door just a little too soon, out pops a gingerbread baby instead of the gingerbread boy he was expecting. Eluding all efforts to catch him, the flat, becandied baby is chased around the village and into the countryside. He mercilessly taunts Matti's parents, a cat, the milk and cheese man, goats, villagers, a fox, and more. In a less traumatic twist on the classic Gingerbread Boy story, this Gingerbread Baby even outfoxes the fox. Sure he's bratty, but he doesn't deserve the gruesome end the Gingerbread Boy usually comes to. Matti makes sure this naughty but appealing little one ends up right where he belongs. Amazon.com


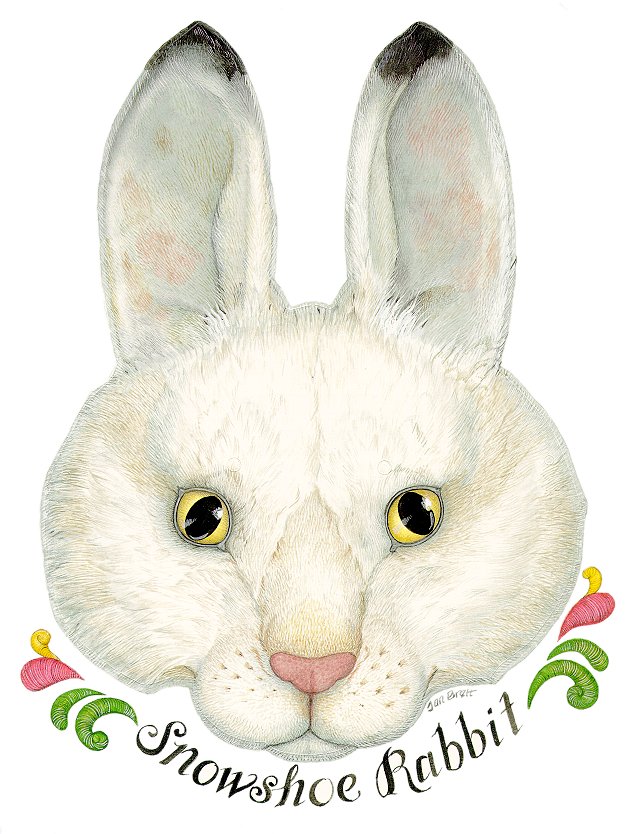
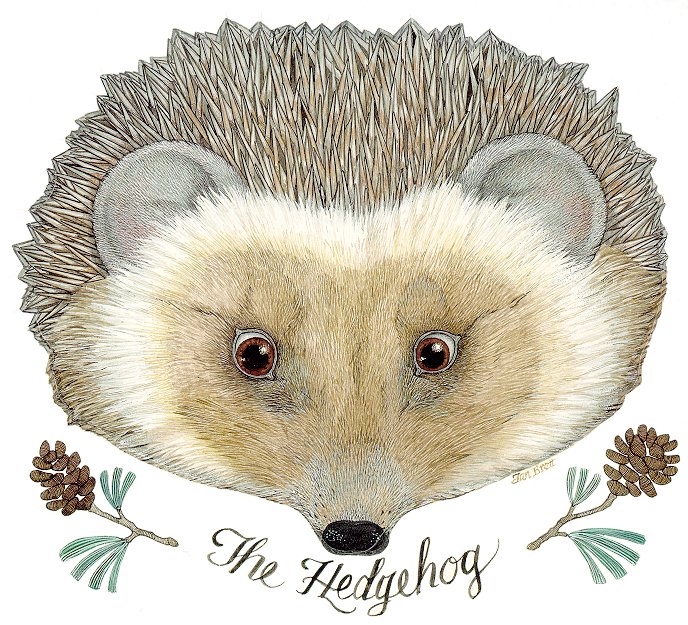
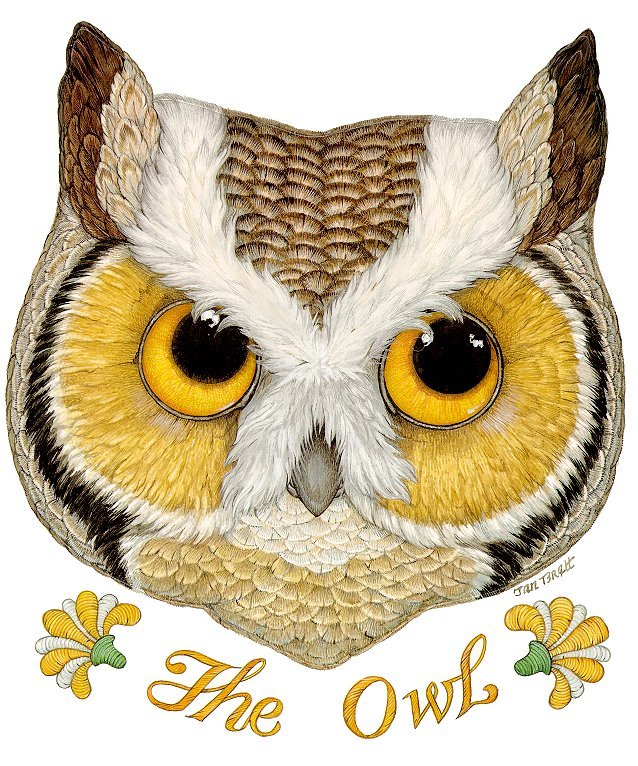
THE MITTEN- A Ukrainian boy named Nicki wants his grandmother Baba to knit snow-white mittens for him. She warns her grandson that a white mitten will be hard to find if he loses it in the snow, but of course he promptly does just that! What happens next is the surprising part, as a mole takes refuge in the lost mitten, then a rabbit, then a hedgehog, an owl, a badger, and a fox. If you think the mitten might be a wee bit stretched out at this point, just wait: "Then a big bear sniffed at the mitten. The animals were packed in tight, but the bear didn't care. He crawled in anyway." When a tiny mouse squeezes in, her whiskers tickle the bear's nose. He sneezes, and "Aaaaa-aaaaa-ca-chew!" all the animals fly out of their crocheted cave. As the mitten sails through the air, Nicki spots it, reclaims it, and takes it home to show his smiling Baba.


Be sure to check out Jan Brett's Website for free printable colouring pages, activites and more. I used this valuable resource a lot when I was teaching preschool. We even put on a play for the parents and used the free printable animal masks.


Saturday, December 12, 2009

I LOVE YOU JAR

So yesterday was my hubby's birthday. He really does appreciate my crafts and often has input into some of my projects. I thought I would make him something special this year so I gave him a jar filled with 200 reasons why I love him. I was aiming for 365 but I thought 200 was enough for him to go through. I also put in five note coupons good for a massage and five for a movie night. I covered the outside with stickers and words representing him and his interests. I think he liked his gift and I'm sure as he pulls out each note his ego will get a big bigger. I'm thinking this would also be a great idea for a fathers day gift.

Thursday, December 10, 2009

Monogram Glitter Ornaments


I found these great DIY glittery ornaments while visiting Write click scrapbook's website. As soon as I found them I got my butt off the computer and went and made my own. I love how they turned out and they took me less than 3 minutes to make. All you need is Making Memories letter stickers and some glitter. I love crafts that make a bold statement and take only minutes to make. Below is a picture of how mine turned out. This year I'm obsessed with teal and green. Now go craft some...go, go, go!


**Happy Craftin'**

Tuesday, December 8, 2009

Merry SITSmas to ALL!


 It's hard to believe that it's that time of year again. My year has been a great one and I've been blessed with the opportunity of watching my little newborn baby girl blossom into a adventurous toddler. As usual I've been crafting away any chance I get and tending to my new addiction..... BLOGGING! I love it, I've even gotten my mother in law into it. During my blogging adventures I've come across a great site called The Secret is in the Sauce. If you want to share your blog with others and get connected with thousands of great blogs then you must click the pretty pink box below. Oh and we SITS girls love comments so before you click please share some love and leave me a comment and I'll do the same for you. And to the current SITS girls, Merry SITSmas to you!


**Merry Christmas**

TIPS FOR TOTS TUESDAY...LAUNCHING TODAY...FEATURING RUDOLPH

Welcome to my first TIPS FOR TOTS TUESDAY. I was going through my Christmas craft box from preschool last night and decided I would share a wonderful colour recognition felt story that is very easy to make as well as a fun and easy tree decoration. I hope you enjoy. And remember to stay tuned every Tuesday for more TIPS FOR TOTS.


RuDoLPH CoLOuR ReCoGNITIoN FeLT StoRY

Make learning colours fun for little ones with this Rudolph felt poem. Rudolph and his noses were made from felt that I bought from the dollar store. I used a hot glue gun to glue on his antlers and gOogly eyes. While reading the poem below have your child(ren) pick the coloured nose and place it on Rudolph. Rudolph can't deliver presents until he is wearing his famous RED nose.


Here is the poem

Rudolph, Rudolph, what will you do?
You can't guide Santa's sleigh if your nose is BLUE

Rudolph, Rudolph, you're such a silly fellow
Who will know it's you if your nose is YELLOW

Rudolph, Rudolph, your way cannot be seen,
Through the wintry weather if your nose is GREEN

Rudolph, Rudolph, Santa gave a wink
But what will he say if your nose is PINK?

Rudolph, Rudolph, it's time to fly at night
But you can't get through the snow if your nose is WHITE

Rudolph, Rudolph, it's time to go to town
But you can't help Santa if your nose is BROWN

Rudolph, Rudolph, Santa has his sack
But you're not ready if your nose is BLACK

Rudolph, Rudolph, the children are in bed
And now we can get on our way because your nose is RED.


RuDOLpH ThE rEd NoSeD ReINdEer CrAfT

Here is a very easy kid friendly project using only three popsicle sticks, two goOgle eyes, and a red pom pom nose. A ribbon can be added for a tree decoration or a magnet for the fridge.


My Book Choices this week are:

SANTA'S STUCK written by Rhonda Gowler Greene. A funny tale about what happens when Santa eats too many treats! You will be surprised who comes to the rescue in the end.


DEAR SANTA CLAUS written by Alan Durant. Children will love the removable written letters from Santa in this book.

From the Publisher A determined little girls puts Santa through his paces—and exchanges several removable messages—in this sweet Christmas story full of holiday surprises. Readers will be as excited as Holly to reach inside real envelopes and find her missives from Santa. Along with the removable letters, they’ll discover an advent calendar, a Santa Claus ornament, a Foldout Reindeer Guide (with answers to common questions, plus favorite reindeer jokes), and one last, special treasure that Holly finally dares to wish for.
After reading this story encourage your child to sit down and write a letter to Santa on their own or with the help of someone who can print for them. Here in Canada if you write Santa a letter and he will write you back.

SANTA CLAUS

NORTH POLE
H0H 0H0
CANADA
 
Click HERE for more info in Canada.
I'm not sure what the address is for US residents. If you know could you please share?
 

Saturday, December 5, 2009

Altered Paint Can Time Capsule

I'm not sure where I saw this idea but I knew when I had children I wanted to make them one of these with some of there special momentos filled inside.

What I did.... I purchased a plain one gallon paint can from Home Depot and decorated it with scrapbook paper, ribbon, and embellishments. I finished it off with a coat of Mod Podge to help protect it. Now what you put inside your time capsule is completely up to you and when you want to open it is also completely up to you. A friend of mine sealed hers up to be opened on her daughters 18th birthday. I left mine open so I can still add little momentos as my daughter gets older. It's a wonderful baby shower gift and even better it's handmade and from the heart.  Aren't those the best kind of gifts?

WHAT I ADDED... You can add whatever you like to your time capsule. You can see I added my daughter's first baby booties, her toque from the hospital, her baby bracelet and even a newborn diaper. I figure it will be neat to see how little she was when she was born and how diapers looked when she was born. I didn't stop there, I included her birth announcement, foot imprint, her birth powerpoint dvd, my favourite newborn photos and a small booklet detailing my pregnancy, labour and delivery and her first birthday.


MAKE AN ALTERED PAINT CAN.....
*  for your child's teacher and fill it with tea /coffee, starbucks gift card or mug
* for a friend and fill it with pictures and their favourite chocolate
* for a dad or grandpa and fill it with golf balls and tees, small tools or fishing supplies.
* for a child and fill it with art supplies or small toys
* for a mommy or grandma and fill it with cookie cutters and recipe cards


PLEASE VOTE FOR ME..

Hey Ladies, I've submitted my blog to a wonderful site called Top Mommy Blogs. If your looking for new blogs to visit or a place to add your own then this is a great site for you. If you like my blog click on the button below and vote for me then go check out Top Mommy Blogs. Don't forget to add your blog while your there. Oh and I wanted to mention they just cleared everyone's ranking and are starting a new voting period.

Top Mommy Blogs - Mom Blog Directory

Friday, December 4, 2009

Pecan Caramel Candies in time for the weekend...A MUST MAKE!


If you like Sweet Georgia Browns from Purdy's then you will like these. They are fast and easy to make and a real crowd pleaser.

Ingredients

* small pretzels in any amount you want to use (I usally fill up a cookie sheet with pretzels, these treats go fast)
* Rolo chocolates- one for each pretzel
* Pecan halves- one for each pretzel

1. Line baking sheet with foil. Place pretzels on foil; top each pretzel with a Rolo
2. Bake @ 250 degrees for four minutes or until Rolos are softened (the Rolos will retain their shape and not melt down). Take out of oven and immediately place half a pecan on top of the soft Rolo and press down so the candy fills the pretzel. Cool slightly. Refridgerate for 10 minutes or until set. They are best stored at room temperature in a container.
3. ENJOY